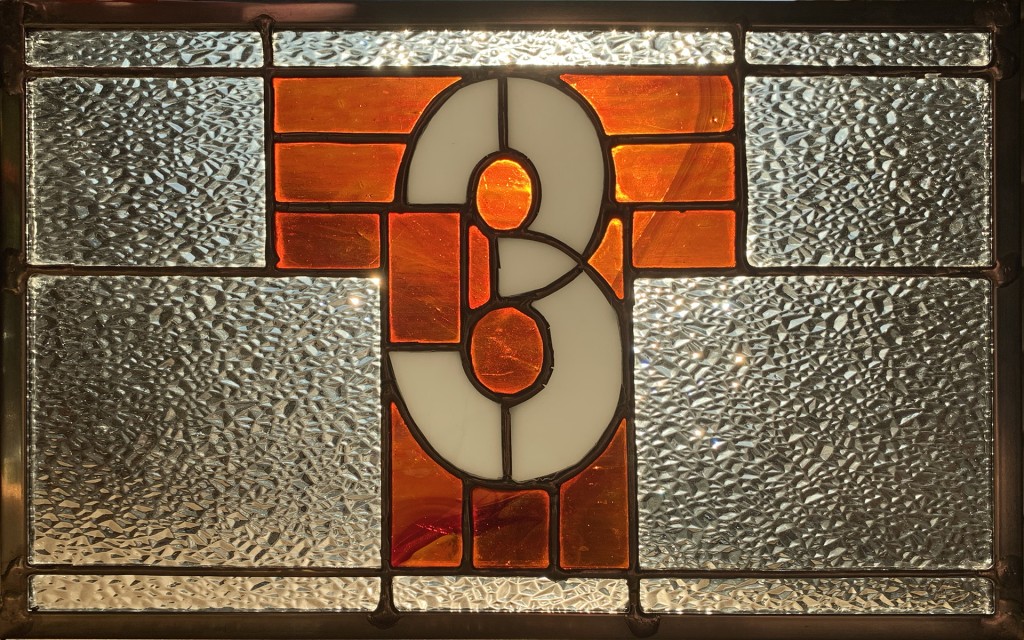
My very first T3 image was a photoshopped stained glass window. I can’t remember why I chose that for a background, but it started a process that has taken me over a dozen years and well over a hundred different versions.

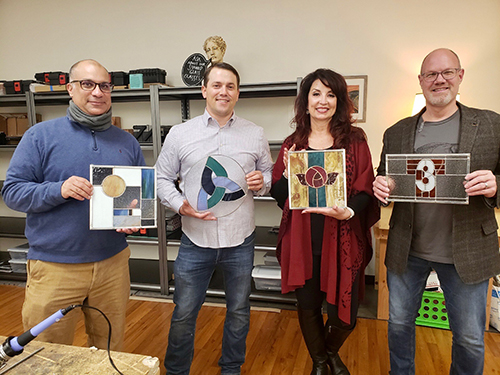
Recently I got the opportunity to take a stained glass window glass at Prairie Arts Collective. Patrick and Shawn Patterson were fantastic to work with and I learned so much in the process.
Everything starts with a pattern. They had starter patterns for us to choose from, but I talk them into letting me do my own:
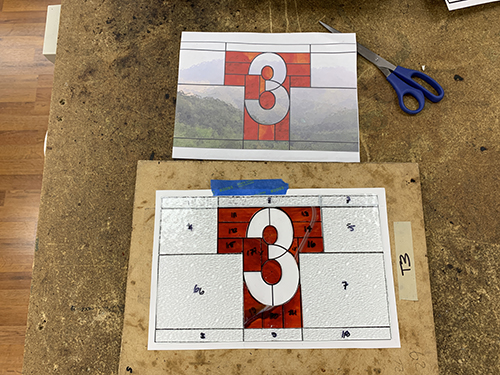
Using the pattern, you cut and grind the glass to shape. I chose a piece of orange glass with swirls through it and then cut the pieces to maintain the swirl pattern. Cutting glass is tricky business. Straight cuts are reasonable, curves are difficult.

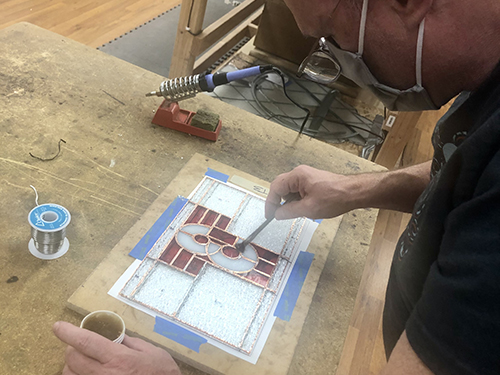
Once all the pieces are cut and fitted, you put copper foil around the edges. It is sticky on one side and covers the glass thickness plus some over each edge onto the face of the glass. This is what the solder will stick to. This is when you realize that the seams grow a little when the copper is added, making some of your carefully crafted pieces not fit…
After fluxing all the copper, you use a soldering iron to float the lead solder into all the lines.

We were going to add a zinc framing band to the outside edge, so I left the edge without solder.
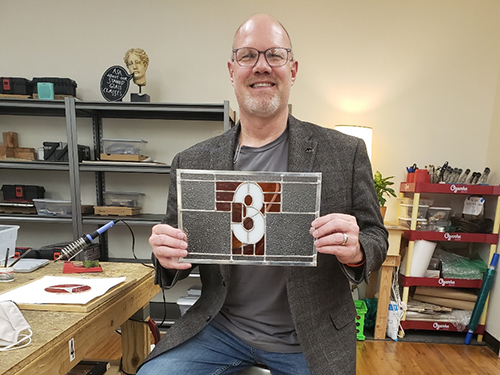
We had a great time working with each other and the Pattersons. If you have ever thought about doing stained glass, we highly recommend them.